After the experimentation of the last chapter using fusible webbing I looked back at my totem designs with a view to developing them in fabric using bonding techniques.
I had tried to create a totem by hanging gumnut shapes but the individual shapes were rather indisinct.
I tried to resolve this by giving each shape a discrete border but didn't seem to help. I preferred the silhouette and so developed this as a stencil.
Stacking vertical slices of this produced an interesting pattern that could be used in the future.
 |
| 10.1 totem design |
This design was my inspiration for the two samples (A4 size in 10.2 and 10.4)) to follow.
 |
10.2 Scraps of typed paper and cut threads, fibres were bonded on to white interfacing, and a white sheer bonded on top. The totem silhouettes were cut from this sandwich and placed on dyed black cloth. Strips of white, red and green sheer were stitched on top then heat gunned back.
Further whip stitch on top to integrate. |
 |
| 10.3 Close-up of above |
I liked the texture created here but not a good representation of the design.
My second sample was simpler but more effective I felt
 |
| 10.4: Silhouettes cut from white and red sheer organzas and bonded on to background. Free motion embroidery on top to define the edges and add to tonal shading |
 |
| 10.5: Close up of above 10.4 |
For my last resolved sample I went back to the design edited in
8.11.
 |
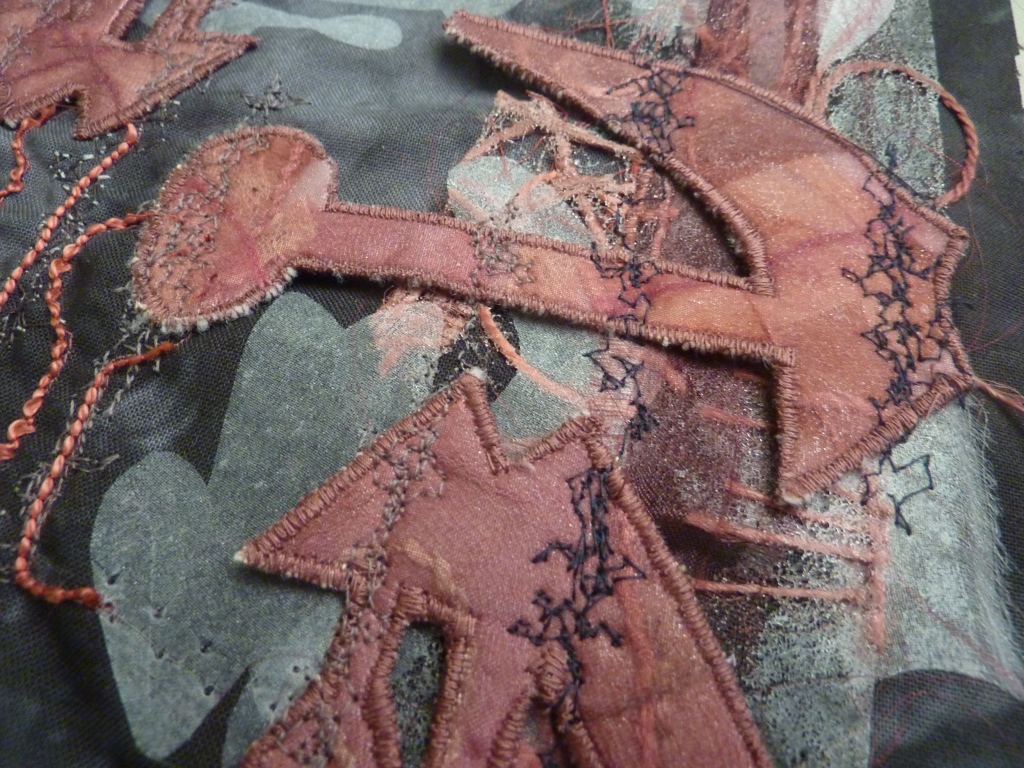
10.6: On background - bonded shapes cut from white sheer organza, and cut strips of fusible web sandwich of red fibres. Bobbin cording in red to highlight large shapes. Pink shapes were cut from bonded sandwich of batting, scraps and red chiffon, edge finished and lightly bonded to background.
Free machine stitching in grey and black over dimensional shapes to integrate them. Whipstitch on background to give speckled white marking of monoprinting. |
 |
| 10.7 Close-up of 10.6 above |


No comments:
Post a Comment