From the 15th to 17th centuries, isolated canvaswork motifs ("
slips") in English embroidery were often cut out and appliqued separately on to a woven background such as velvet or damask. Embroidery stitches and techniques traditional to the time period (sampled in chapter 2) were used but today's modern fabrics and technology allow for very different "slips" to be possible. This chapter begins to look at design and sampling of contemporary embroidery slips.
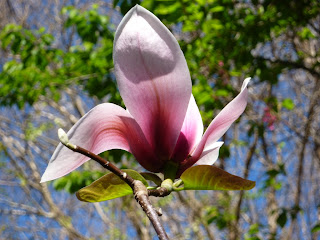
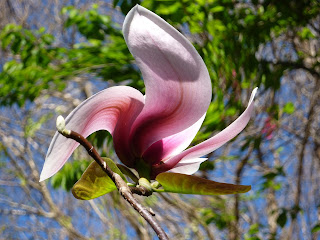
As I had been researching Japanese embroidery before, I chose a flower originally from this area of the world -
magnolias.
When I started this work it was spring in Australia but sadly we are now well into summer and the magnolia flowers in the garden are well gone. But luckily I had a plethora of my own photos from which to study and draw.
 |
| 3.1 |
 |
| 3.2 |
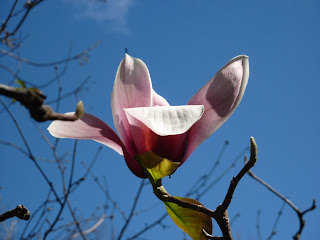
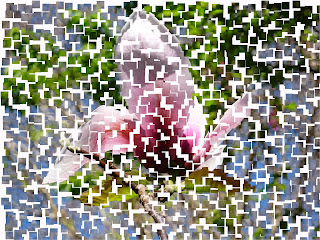
I am by no means experienced in 'playing with photos' on photoshop and indeed only have a very simple free version with which to experiment so I apologise for the following rather obvious enhancements I have made to these photos. I did have some fun with this and liked a few of the changes:
 |
3.3 'mosaic' effect
|
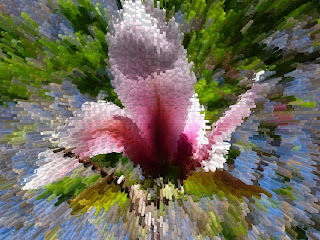 |
| 3.4 "extrusion" effect |
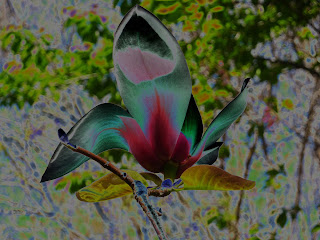 |
| 3.5 "solarising" effect |
 |
| 3.6 "twirl" effect |
 |
| 3.7 fractured "tiles" effect |
The mosaic or pixilated effect in photo 3.3 could easily be translated into simple tent or cross stitches, while the extruded effect reminds me of long and short stitches.
The magnolia petals always seem 'too large' for the flower to support and I love the way the twirl effect in 3.6 exaggerates them.
The fractured version in 3.7 is a little like a distressed photo which I think with some more 'enhancement' has potential.
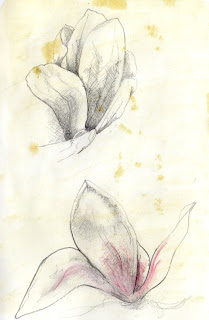
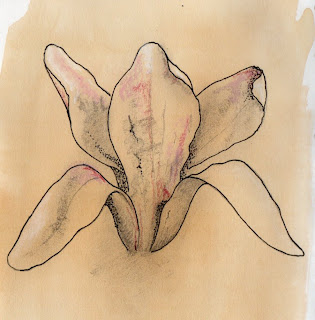
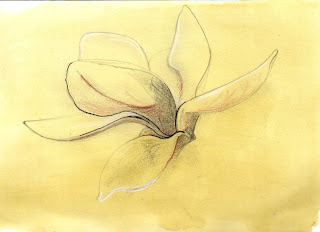
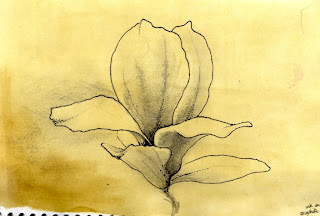
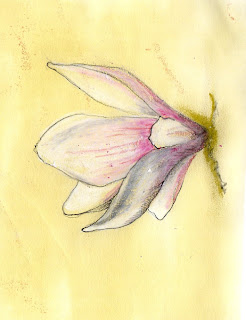
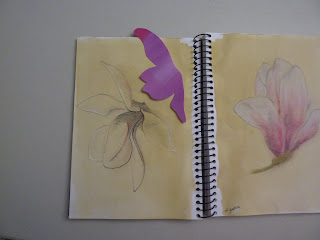
With my thoughts on the petals and their movement I went back to study them more closely in sketches. Firstly some drawings in graphite, coloured pencil and pen & ink on sketchbook pages previously given a colour wash.
 |
| 3.8 |
 |
| 3.9 |
 |
| 3.10 |
 |
| 3.11 |
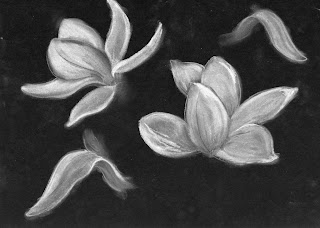
Then some using chalk pastels with and without ink
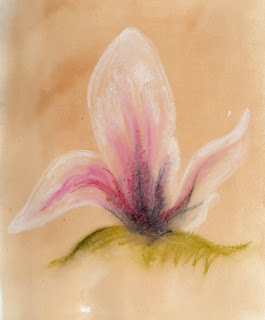 |
| 3.12 |
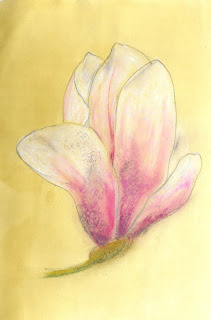 |
| 3.13 |
 |
| 3.14 |
 |
| 3.15 |
Then sketches on black paper using pastels (3.16) and using acrylic paints (3.17)
 |
| 3.16 |
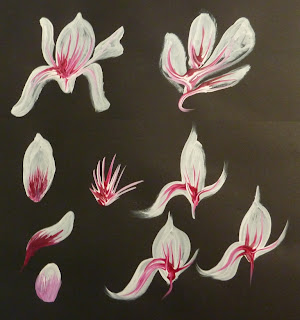 |
| 3/17 |
In 3.17 I wanted to try to get a feeling of the magenta in the magnolia bleeding or staining into the white so I pulled the paint thickly into the white using a kebab stick.
The same effect was used with a stick brush in bleach on a Brusho washed paper (3.18) below.
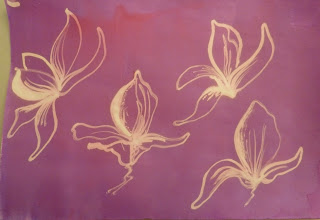 |
| 3.18 |
Close up the petals can appear quite texturally dimpled, almost like subtle orange peel, so I used this impression when preparing some decorated papers for later design work.
The A4 papers (sample shown in 3.19) have predominantly pink / purple / white colouration like the flowers but yellow has been added in some as a complement and because the colour appears in some kinds of magnolia flower.
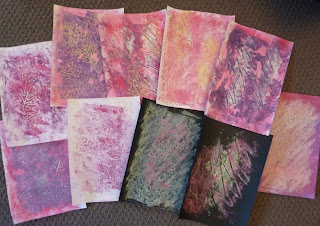 |
| 3.19 |
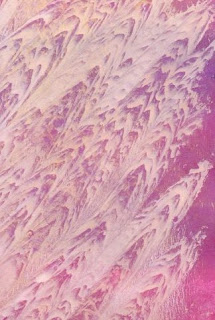
The papers are not very clear in 3.19 so I have cropped A6 areas from some and displayed in 3.20-3.23.
To create a softer textural pattern in the background I monoprinted a couple of times in different colours from a gelatin plate I prepared, then overprinted from an acetate sheet as this produces a slightly different look.
The gelatin plate was made using 3 tbsp (approx 45g) powdered gelatin in 1 litre water, poured into a lamington tray (approx A4 size) and left in fridge overnight to harden.
It lasted the day's use but 30+ degrees C in my studio area eventually took its toll on the old gelatin and it fell apart!
 |
| 3.20 |
 |
| 3.21 |
I tried to include the flowing and curving lines of the flower.
 |
| 3.22 |
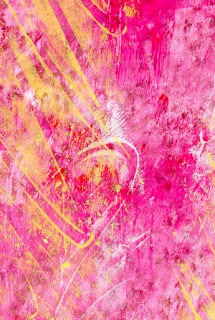 |
| 3.23 |
I had quite a few candidates for a slip motif from this work eg -
 |
| 3.24 (shape in purple shown relative to page in A5 sketchbook) |
or this silhouette (3.25) from the flower in 3.1 at the beginning, and sketched many times in this post
this shape is about 10 x 8cm and I think is my favourite as it typifies the movement as well as the shape - a bit of an asymmetric fleur de lys!


.JPG)
.JPG)
.JPG)
.JPG)
.JPG)