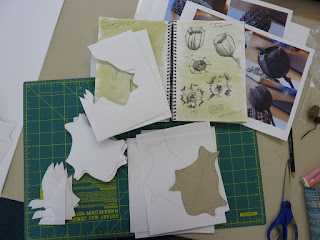
Section C of this chapter called for the creation of 3D designs using repetitive 2D shapes, including manipulated and graded versions of the shape. This reminded me of work we did at Urchfont in 2009 during summer school with Janet Edmonds and I chose to look at that work again in the context of this chapter's requirements.
 |
| 9.26 |
At the time I chose a positive shape that was based loosely on a cross-section of gumnuts (part of diploma theme) - the cardboard shape at the bottom of the photo. I now realise that this particular shape was a bit too circular and probably lacked sufficient asymmetry but all experience and I made many....many.....
 |
| 9.27 |
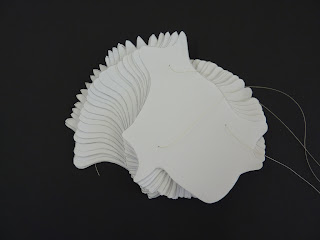
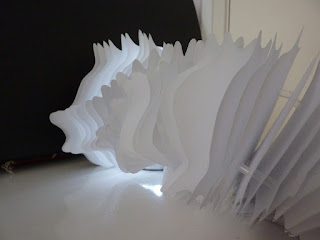
(did I say many?) copies, joined them together with fishing line and spacer cut straws creating a flexible form. The undulations were quite subtle but I found that lovely shadow effects suggesting movement were formed in my photographs.
 |
| 9.28 |
 |
| 9.29 |
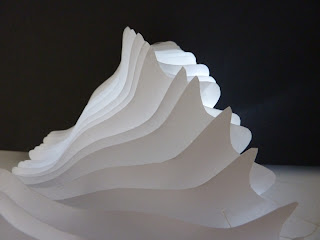
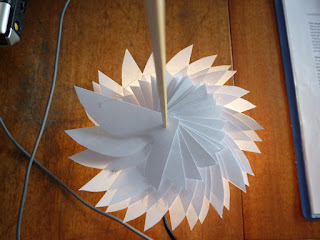
Parts of the negative shape in repetition gave interesting spirals with tonal variation in the light.
 |
| 9.30 |
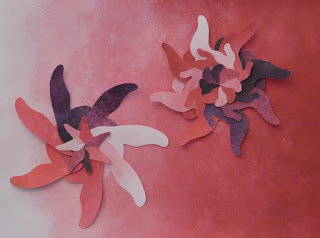
With these experiments in mind, I looked at arranging my slip shapes into spirals -
 |
| 9.31 |
This was a bit of a 'wow' moment when I interlocked them all and found layers appearing. The slip shape on the left is that found in 3.24 and on the right photographed in 3.25 of a previous post
here.
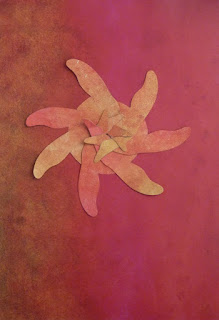
I prepared sheets of card printed with one of my background colour transitions on the front and painted on the back in a dark magenta to allow for 2-sided shapes to be cut out. I used the same shape as on the left in 3.31 and interlocked them in a similar fashion.
 |
| 9.32 |
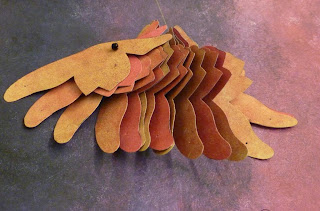
Interesting overall shape but the individual shapes are too similarly coloured to see the detail created. I cut out a lot more and strung them together at one point with beads in between each shape to give a little separation (9.33 and 9.34)
 |
| 9.33 |
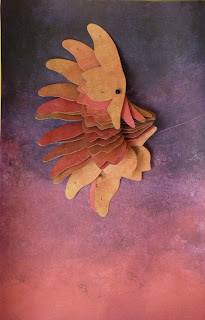 |
| 9.34 |
Then strung them at an additional point - look like little birds in flight now, like the profile of this one.
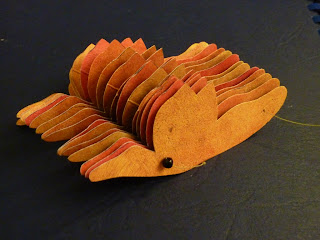 |
| 9.35 |
When allowed to fall open like a book of pages, the contrasting side of the shapes can be seen. But this wasn't really exploiting the 2-sided nature of the shapes.
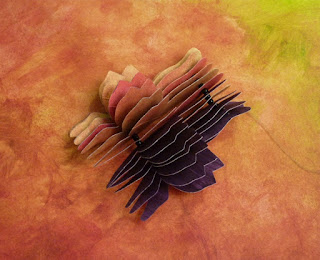 |
| 9.36 |
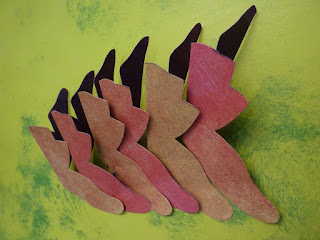
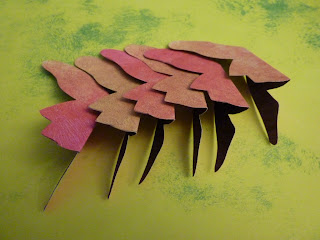
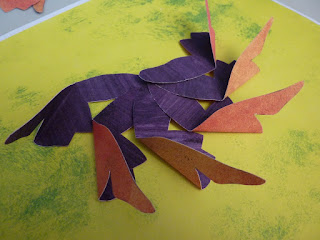
So I then unstrung the shapes and arranged them utilising folds to display both contrasting sides -
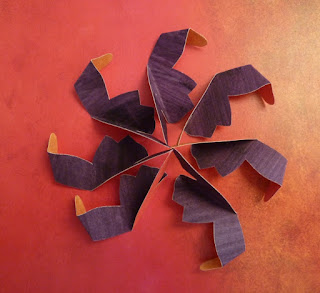 |
| 9.37 |
 |
| 9.38 |
 |
| 9.39 |
 |
| 9.40 |
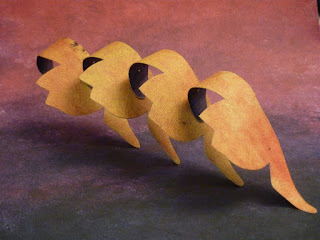
Lastly an arrangement overlapping the slips as a border, cuff, neckline design? - this way or resting on the curves with 'spikes' upwards?
 |
| 9.41 |
Now, how to keep that dimension in felt....


